

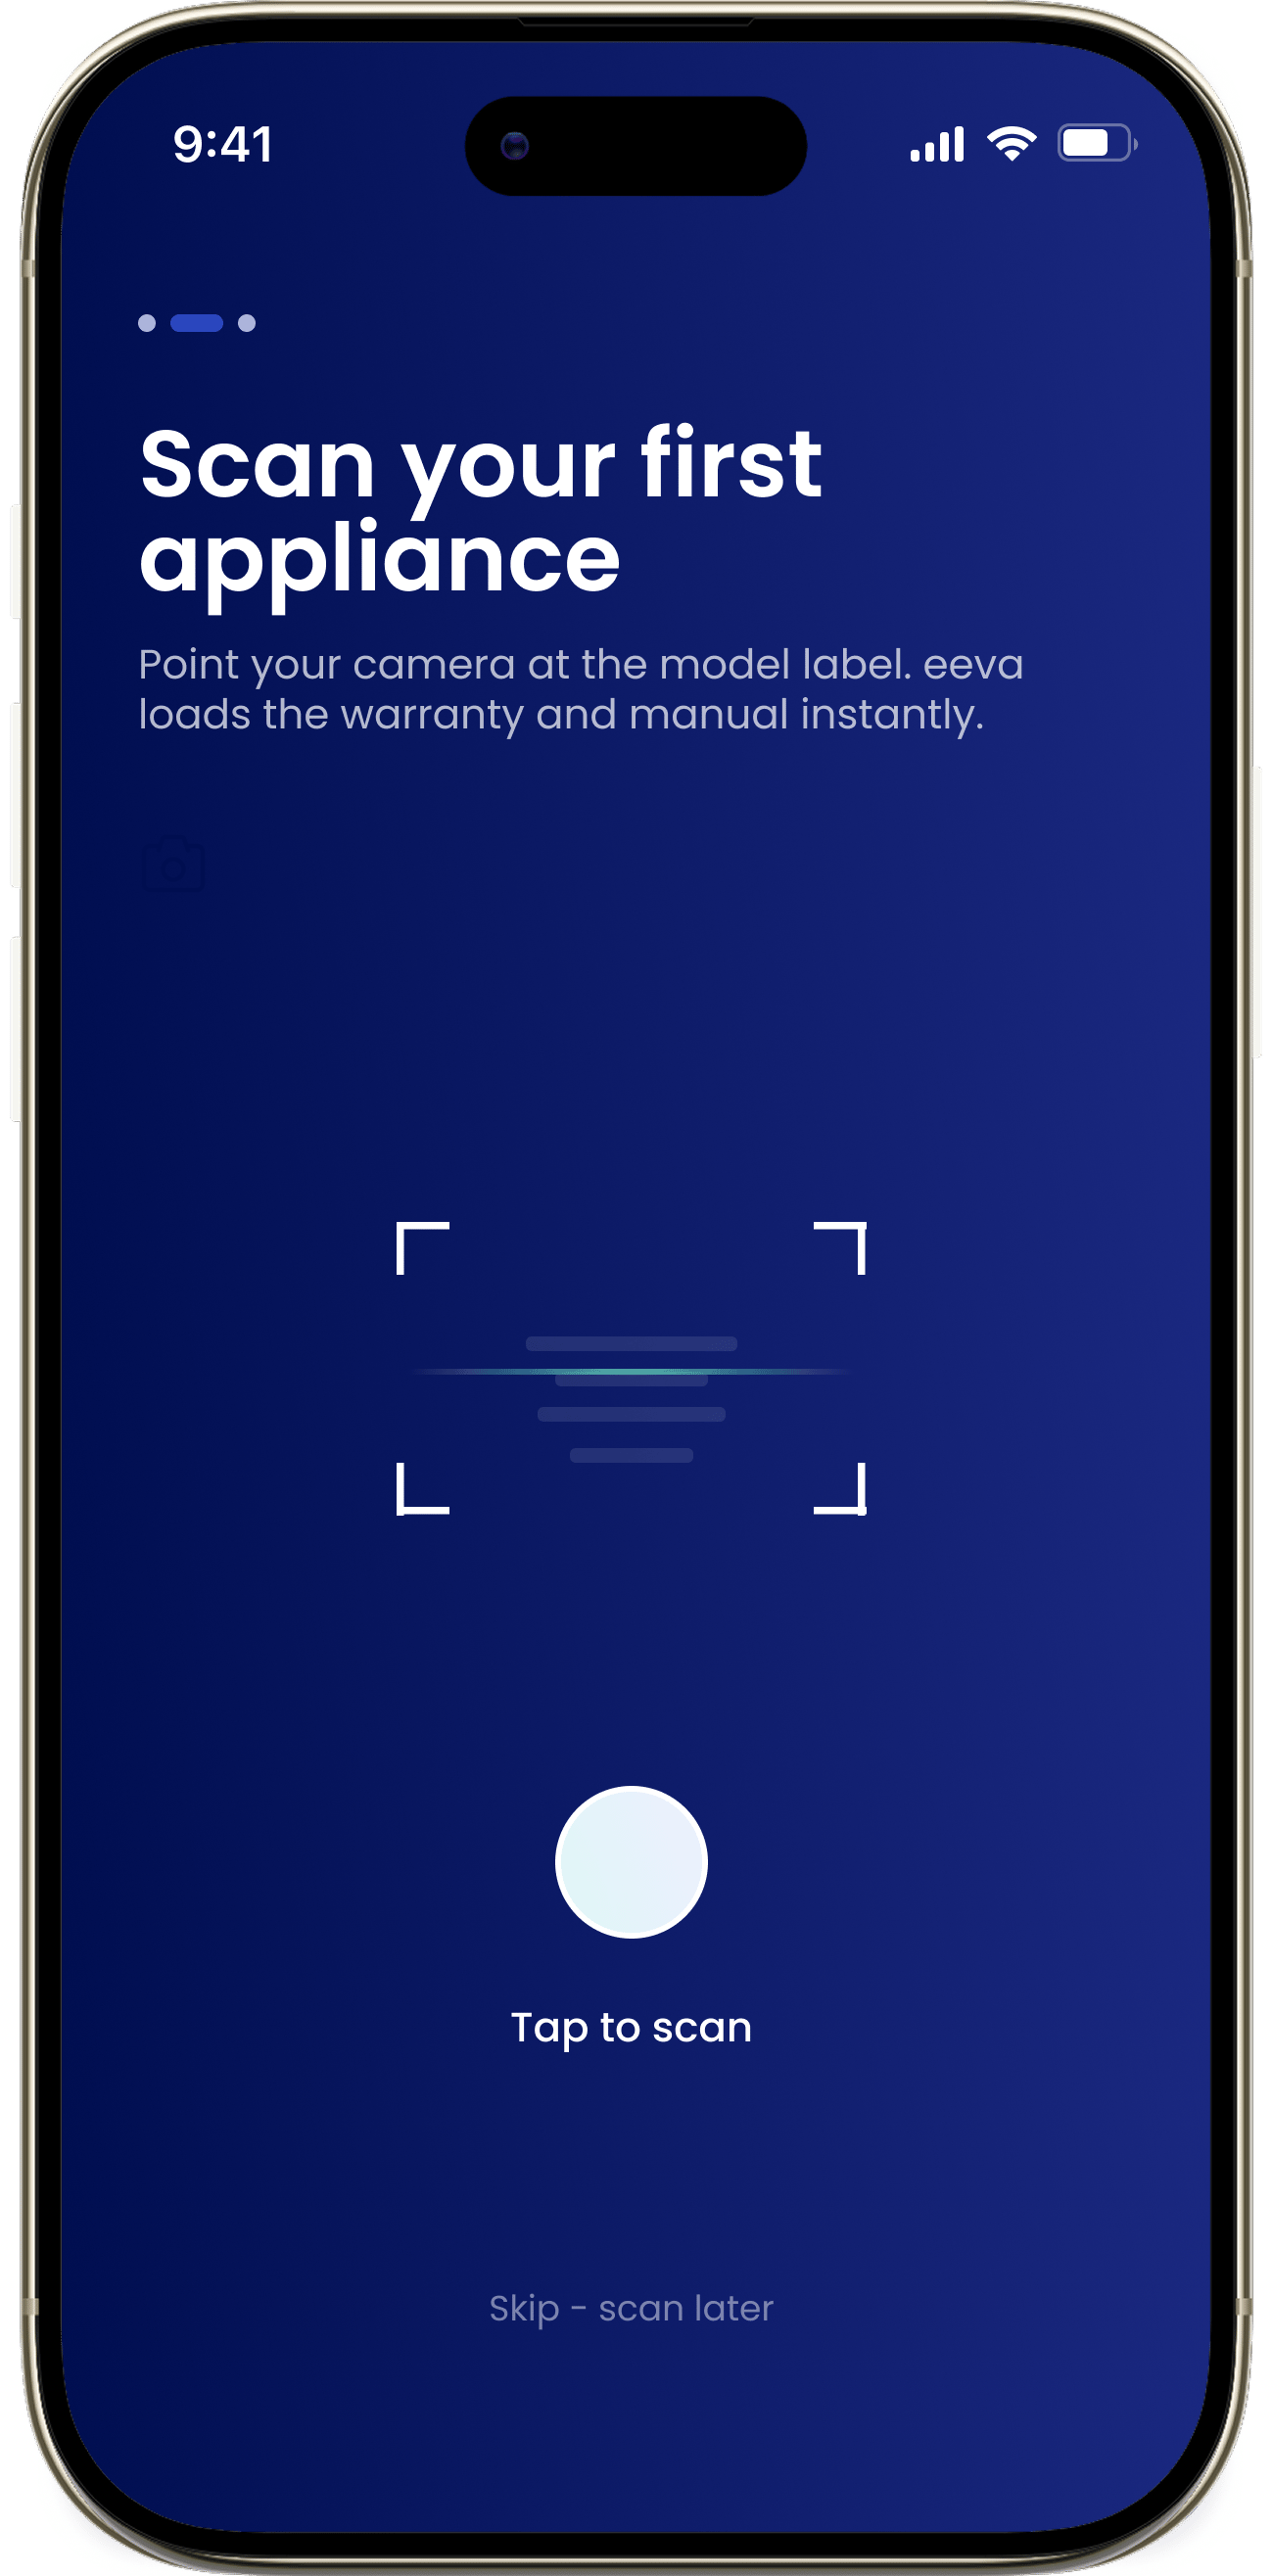
Scan your first appliance
1
Tap to scan
On the Scan your first appliance screen, tap “Tap to scan” to open the camera.
2
Point at the model label
Aim your camera at the appliance’s model label — usually a sticker or plate with the brand, product name, and model number. Hold steady until eeva reads it.
3
Review what eeva found
On success you’ll see “Appliance identified” with editable “Appliance type”, “Brand”, and “Model Number” fields. Fix anything that’s off.
4
Add it to eeva
Tap “Add to eeva” to save the appliance to your home.
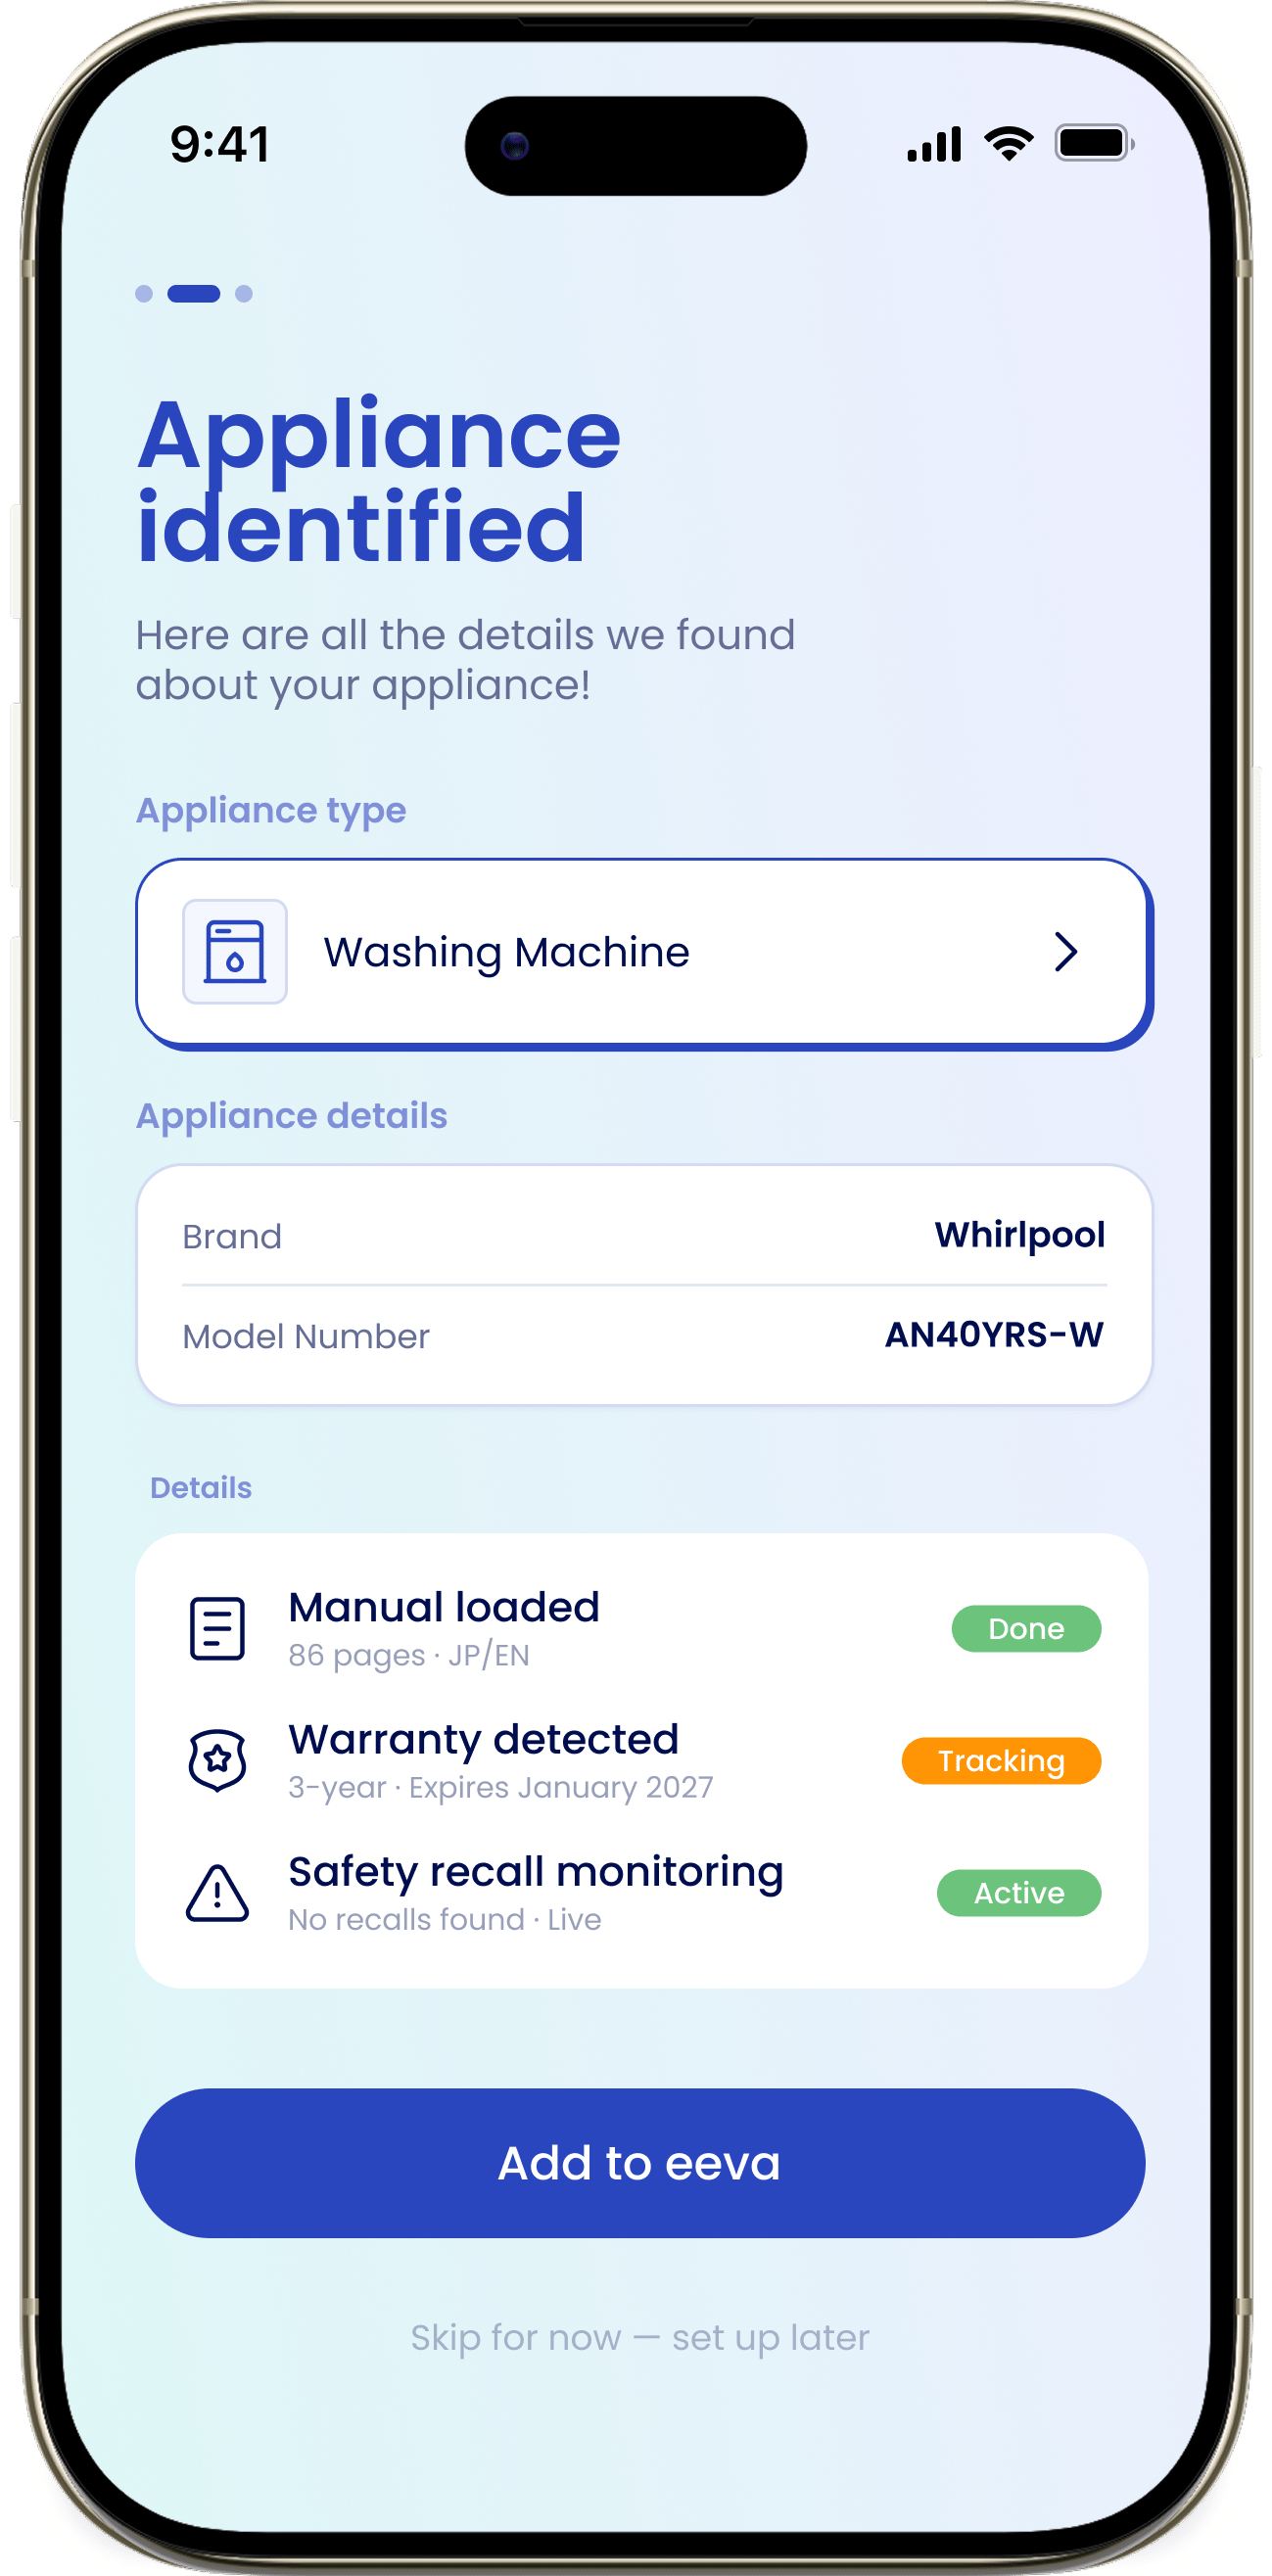
What eeva sets up for you
Once the label is scanned, eeva fills in the details for you. On the confirmation screen you’ll see:Manual loaded
The product manual is pulled in automatically, if eeva is able to track it down.
Warranty detected
The warranty window, so eeva can warn you before it lapses.
Maintenance schedule
eeva creates maintenance tasks specific to your appliance
Want to do this later?
You don’t have to scan right now. Tap “Skip for now — set up later” to head straight to the rest of setup. You can add appliances anytime from the House tab.The scan couldn’t identify my appliance
If eeva can’t read the label, you’ll see “Couldn’t identify your appliance”. You have two options:- Enter the details by hand. Fill in Brand, Product Name, and Model yourself.
- Tap “Try scanning again” and re-aim the camera. Good light and a straight-on angle help eeva read small or worn labels.
After your first appliance — Adding, editing, and managing appliances all happen later from the House tab. See Appliances for the full guide to warranties, recalls, manuals, and repairs.