

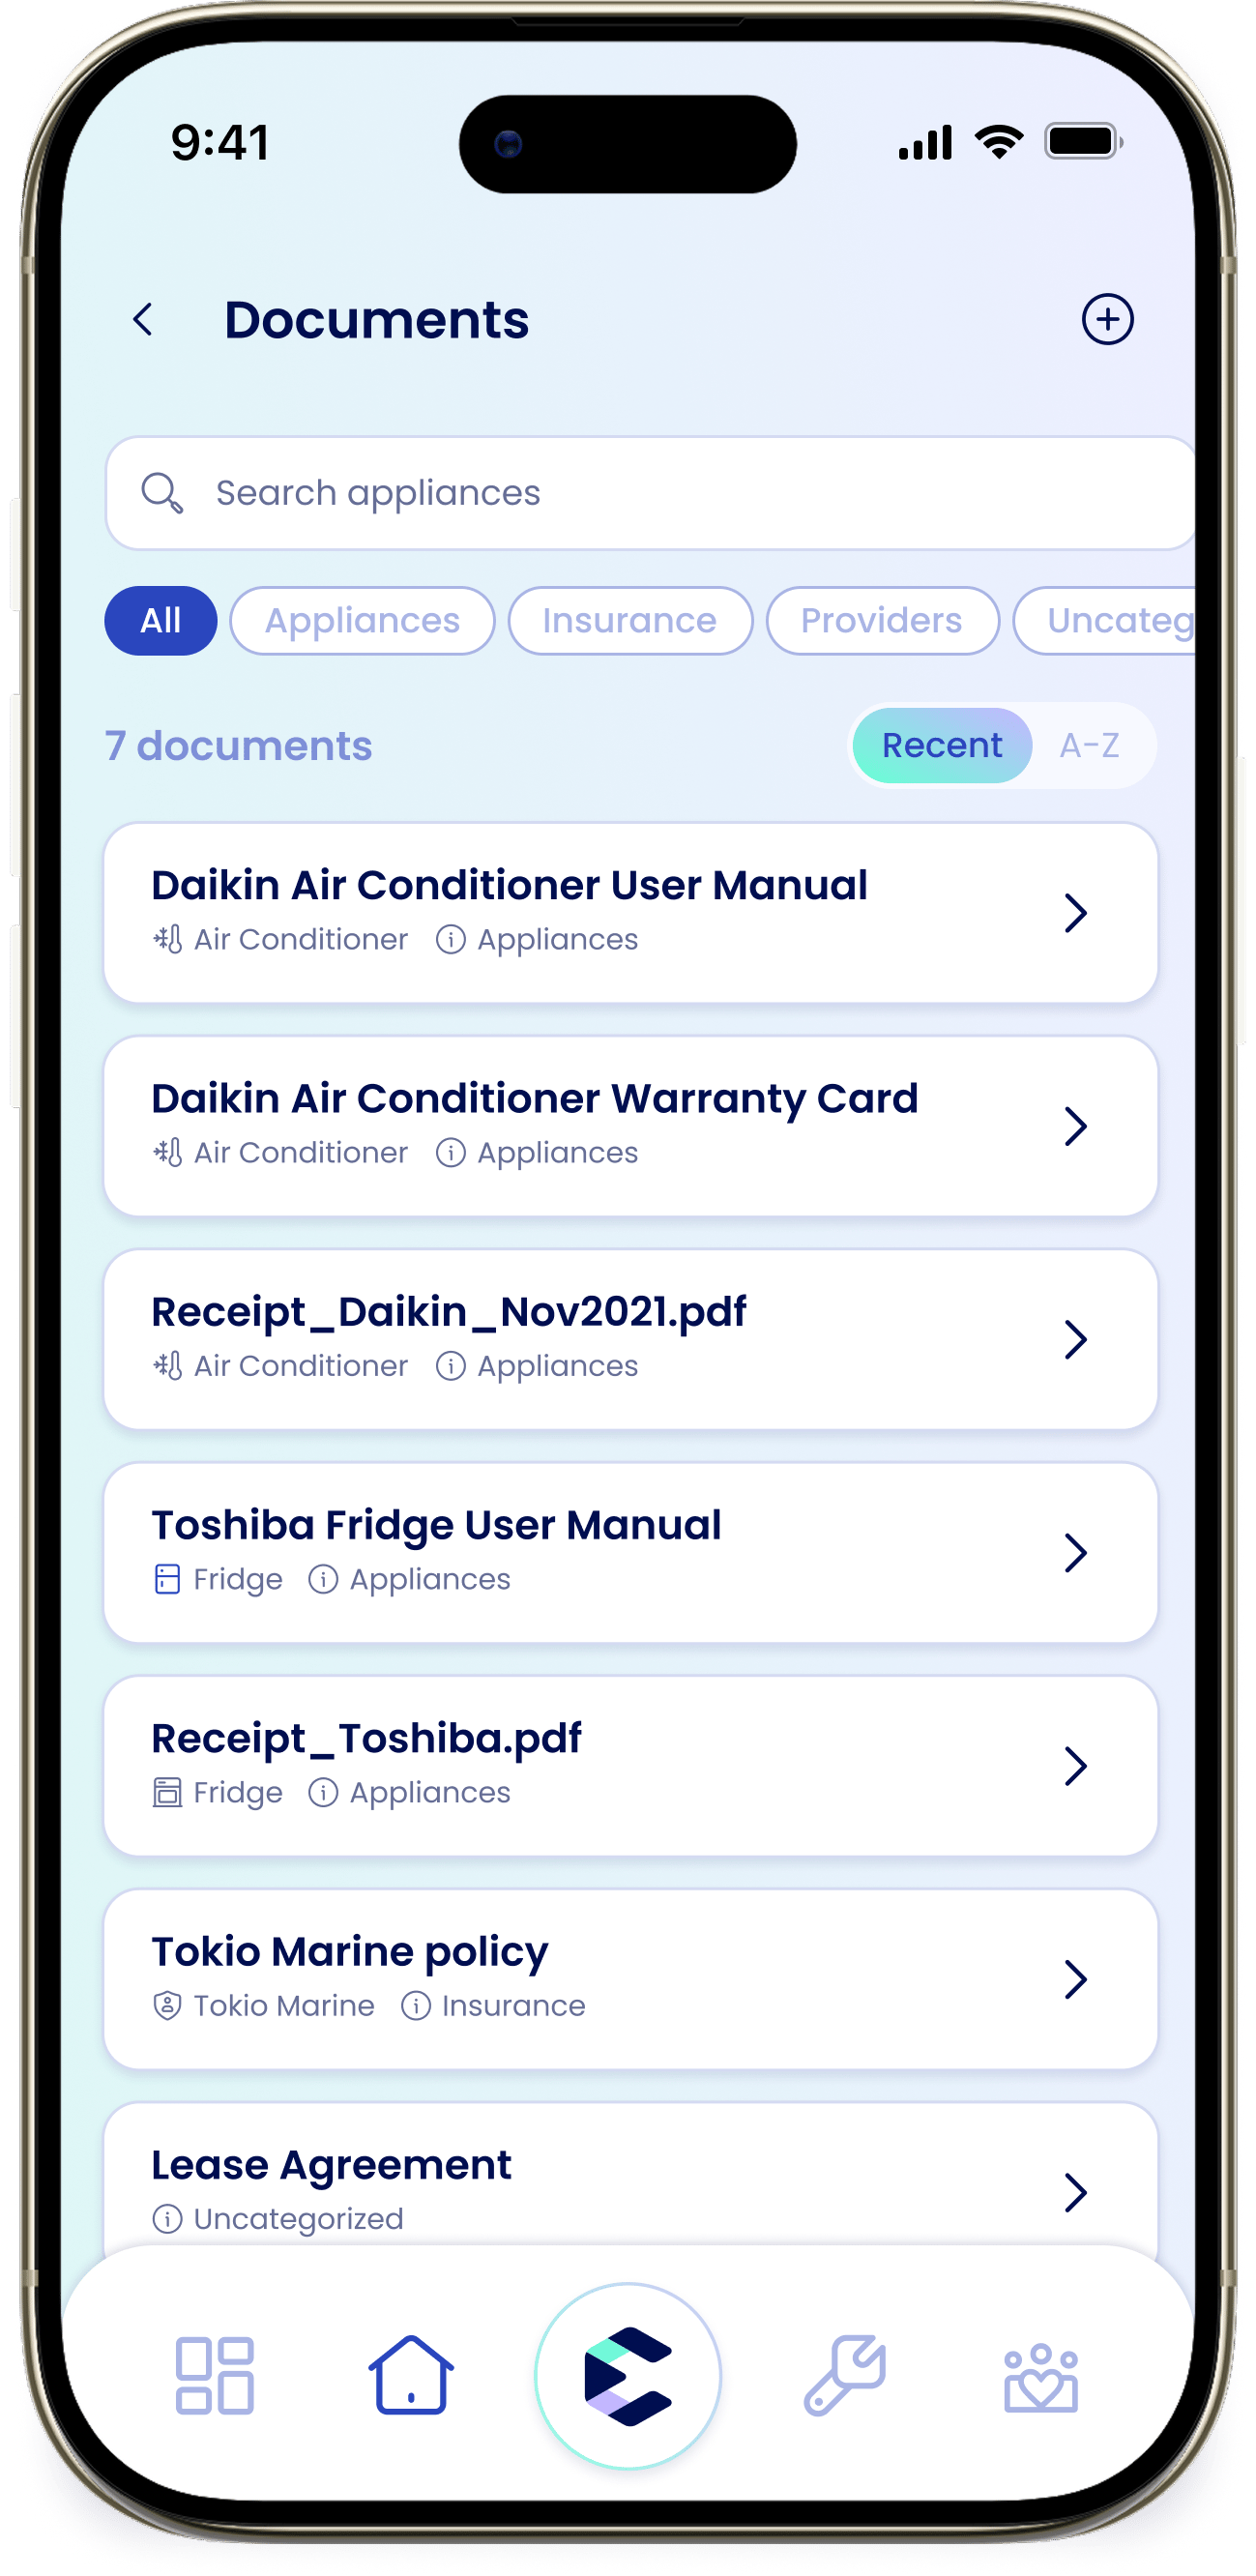
Digitizing your documents
There are two ways to digitize your documents:- eeva auto-fetches a manual and adds it automatically
- You upload things by hand: manuals, receipts, warranty cards, and insurance policies.
Upload a document
1
Start an upload
Tap + to open “Upload a document”.
2
Add the file
Under “Add a file”, choose “Files”, “Camera”, or “Album”.
3
Name it
Enter a “Name” (required).
4
Choose where it goes
Under “Save to”, pick an area: “Appliances”, “Providers”, “Insurance”, or “Documents” (general). If applicable, pick the specific item too.
5
Save
Tap “Save”.
When you upload a document, eeva can read it to suggest a title and date. Anything it isn’t sure about is flagged “Please review” so you can check it before saving.
Manage a document
Long-press a document (or tap its ⋮) for actions to “Rename”, “Download”, “Share”, and “Delete”.Documents that came from an appliance, insurance policy, or repair are managed from that item. Open the appliance, policy, or repair to replace or delete the file. From the Documents library you can still edit its notes.
Deleting a document shows an Undo for a few seconds, so you can recover it if you tap by mistake.